Wig Sample Revision Request: The Sheet Your Factory Needs
Sample Revision Guide
“This sample isn’t right” is where rework starts and where good samples die. A wig sample revision request is the document that turns that sentence into something a factory can execute: which spot, what is wrong, what the target is, what must not change, and how both sides will know the revised sample passed. This guide gives you the blank sheet and one fully annotated worked example — written so someone who missed the first phone call can still judge whether the second sample is acceptable.
The sheet is written for brand buyers and sourcing teams who already hold a sample of a full-top human hair wig. If you are still deciding whether the sample hairline meets your brief, the wig hairline inspection checklist covers that upstream step; this article starts at “we found something and the factory needs to fix it.”
Failure Modes
When a Sample Revision Goes Wrong
Most failed revisions fail before the factory touches the wig. The common patterns:
- Verbal approval in chat. “Yes, but make the hairline lighter” — with no version number and no record of what else was approved. Vayora’s sample-order guide tells buyers to give every iteration its own revision code and never rely on a chat message saying “approved” (Vayora sample-order guide, accessed 2026-11-11).
- Photos without markers. A full-cap photo where the problem is a two-centimeter stretch of hairline. The factory sees a wig; they do not see your complaint.
- Everything mixed into one paragraph. Twelve observations, no priorities. The factory fixes the three easiest ones and ships.
- No “keep as is” list. The fix improves the problem area and silently changes the cap size or the length you had already accepted.
- No acceptance rule. Nobody defined what “fixed” looks like, so the second sample starts a new argument instead of closing the first.
The sheet below exists to kill all five patterns with fields.
Deliverable 1
The Revision Request Sheet at a Glance
This is a blank template — copy it into your email or document system and fill one row per issue. Fields marked with an asterisk are the minimum a factory needs to act.
| Field | What you write |
|---|---|
| Sample ID * | The identifier both sides use for this physical sample |
| Revision no. * | v1 → v2 for the second physical sample; never overwrite v1’s record |
| Date / sender * | Who raised it and when |
| Photo ref * | Marker number(s) on the annotated photos (see below) |
| Observation * | What you see, stated as a condition — not “bad quality” |
| Target * | The measurable or checkable state you want instead |
| Keep as is | The areas that must NOT change (cap size, length, color you already approved) |
| Priority * | Blocking approval / should improve / acceptable deviation |
| Owner (their side) | Who at the factory confirms the change |
| Re-sample acceptance rule * | How each item will be checked on the revised sample |
One row per issue. If an issue needs two photos, both marker numbers go in the same row; if two issues share a photo, the photo gets two markers.
Photo Protocol
Annotate Photos So Nothing Is Lost in Translation
The photo set travels with the sheet and carries the marker numbers the sheet references:
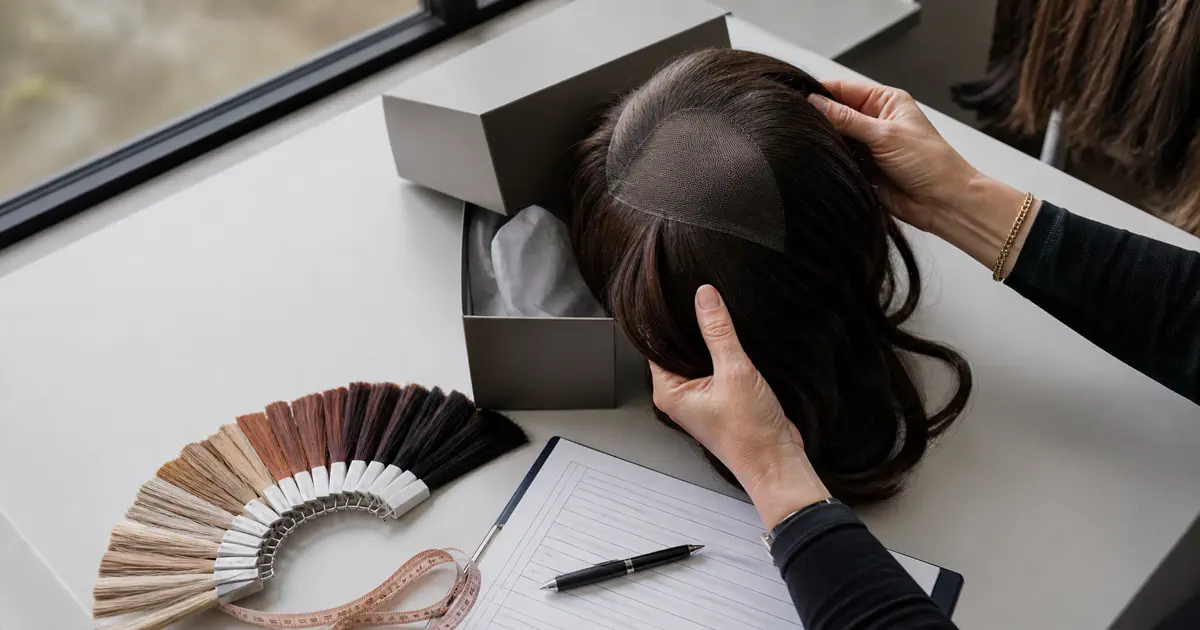
- Shoot one full-front photo in even, daylight-neutral light, cap held or mounted so the hairline sits naturally — this is the orientation photo every marker locates against.
- Add close-ups per issue, taken from the same distance and angle, so the revised sample can be photographed the same way later.
- Mark with numbered arrows (P-1, P-2 …) pointing at the exact spot each row of the sheet describes — arrows on the photo, numbers matching the sheet.
- Do not retouch, crop into ambiguity, or mix lighting between the first and second sample sets — same conditions make the before/after comparison honest.
Write the Target
Write the Target, Not Just the Complaint
The two columns that decide whether the second sample works are observation and target. The observation states a condition; the target states the checkable state you want:
- Weak: “The hairline is too thick.” — Thickness where, compared to what, fixed how?
- Workable: “Hairline zone (photo P-2): strand density at the front edge reads heavier than the crown; target: visibly lighter gradation at the first 1–2 cm from the edge, matching the transition shown on the approved reference photo.” The exact numbers belong to your specification and your supplier’s written confirmation — the sheet’s job is to force the pair observation → target onto every row.
The keep-as-is column does the quiet work: it protects the decisions you already made. If the cap size, length, or a color you approved is correct, write it down as untouchable. A revision that improves one zone and silently moves another is a failed revision.
Gate Logic
Rank the Changes Before You Send
Priority is what turns a complaint list into a decision procedure. Three levels are enough:
- Blocking approval — without this change, the sample cannot be approved and bulk cannot be discussed.
- Should improve — you can live with it only if the factory commits, in writing, to the change on bulk units.
- Acceptable deviation — noted, recorded, and explicitly waived, so it does not resurface as a dispute later.
Vayora’s sample-order guide describes four possible outcomes between sample rounds: a sample is approved, approved with a documented revision, revised and re-sampled, or rejected (Vayora sample-order guide, accessed 2026-11-11). The sheet’s priority column is what makes your outcome calculable instead of negotiable. TORENVA asks buyers to approve the sample or send clear revision comments, and says it requires written approval before bulk production (TORENVA process page, accessed 2026-11-11).
Close the Loop
Accepting the Revised Sample
The second sample is judged against the sheet, not against memory:
- Same conditions as the first round — same lighting, same wear state, same tests. Vayora recommends repeating the same tests under the same conditions; Honsen Source’s checklist recommends re-checking texture and shedding after washing (Honsen Source, accessed 2026-11-11).
- Walk the rows in order. For each row: photo ref → observation → target → pass or fail. Write one line per row. A row with no verdict is a row you will argue about later.
- Record the outcome as one of the four: approved / approved with documented exceptions (list them) / revise again (v3, with what still fails) / rejected.
- Freeze the winner. The approved sample becomes the reference bulk units are checked against — name its ID and version in the purchase documents.
Who pays for the extra round, and how many rounds a supplier tolerates, are commercial terms — ask them in writing when you order the first sample, not after the second one disappoints.
Deliverable 2
A Worked Example, Fully Annotated
The record below is a fictional worked example (illustrative; sample IDs, values, and dates are invented for demonstration). It shows a completed sheet doing its job: someone who never joined the first call can tell what was wrong, what was asked, and whether v2 passed.
| Field | Row 1 | Row 2 |
|---|---|---|
| Sample ID | SMP-2026-0142 (example) | SMP-2026-0142 (example) |
| Revision | v1 → v2 | v1 → v2 |
| Date / sender | 2026-03-04, buyer spec lead (example) | 2026-03-04, buyer spec lead (example) |
| Photo ref | P-1, P-2 | P-3 |
| Observation | Hairline zone reads visibly heavier than crown; no gradation at first 1–2 cm | Overall tone reads warmer than approved swatch under daylight |
| Target | Visibly lighter gradation at front edge, crown density unchanged | Match approved swatch no. AS-07 under daylight and indoor light |
| Keep as is | Cap size M, length 18", cap depth — already accepted | same |
| Priority | Blocking approval | Should improve |
| Owner | Factory hairline workstation lead (example) | Factory color lead (example) |
| Re-sample acceptance rule | Same photos under same light; front edge reads lighter with crown unchanged | Two-light photo check against AS-07; warmer read = fail |
Re-sample verdict (2026-03-19, example): Row 1 pass — front edge gradation visible, crown unchanged (photos P-4/P-5). Row 2 fail — still warmer than AS-07 under indoor light (photo P-6); color lead to re-confirm dye lot against AS-07 before v3. Outcome: revise again (v3), Row 2 only; Row 1 frozen. One more round, narrowly scoped — that is the sheet working.
Wig Sample Revision: Common Questions
There is no trade-wide number. Rounds, fees, and timelines are supplier terms — ask for them in writing when you request the first sample, and record each round with its own version number so the history stays clean.
One row per issue with: sample ID, revision number, photo references, the observation, the target state, what must stay unchanged, the priority, an owner on the factory side, and the rule for accepting the revised sample.
You can — as "approved with documented exceptions." List each waived item on the record so it cannot resurface as a bulk dispute. Issues that block approval stay blocking.
Repeat the first round's photos, lighting and tests. Check the sheet row by row and record the outcome and sample ID. Freeze a sample as the bulk reference only after written approval and after recording any accepted exceptions.
Next Step
A Translation Document, Not a Complaint
A revision request is a translation document: it converts your disappointment into the factory’s work order and your second sample’s verdict. Keep the sheet with the sample ID on both, and the third order starts from evidence instead of memory.

Have a Sample That Needs Round Two?
Fill the sheet before you write the email: one row per issue, a target for each, and the acceptance rule that closes the loop. If you want a second pair of eyes on a revision, reach out.
Contact LEV Wigs