Low Density Human Hair Wigs: Wholesale Sample Inspection
For wholesale buyers, low density wig sample inspection starts with the coverage requested at the hairline, crown and ends. Record the supplier’s density label, then compare the sample with an agreed physical reference and the finished look you intend to sell.
Quick answer: Check the hairline, crown and ends under consistent viewing conditions. Record the sample specification, photograph each zone and note whether it meets your agreed brief. Use the comparison record and outcome table to decide whether to approve, obtain clearer photographs or request a revised sample.
This guide helps boutique brands and sourcing teams inspect full human hair wig samples. The sheitel density guide gives background on density terminology. Here, the task is to record the sample you want production to match.
Confirm What the Supplier Means by Low Density
In a wig specification, density describes the amount or concentration of hair in the construction. Hair may be individually tied to a base, attached through wefts, or used in a combination of areas. Ask how the supplier defines its low-density option for the particular model.
- Ask what the percentage means for this supplier. Record the definition the supplier uses for the cap and length you are sampling.
- Finished specification. Record length, cut, color, cap type and size with the density label. These details belong with the sample you approve.
- Record visible fullness separately. Note how much coverage you see at the hairline, crown and ends. Log finished weight in its own field if it is part of the brief.
If weight is part of your buying brief, record it separately with a defined weighing method. The weight of a finished wig includes its cap and attachments as well as its hair. In Jon Renau’s density guide, examples with similar weights can have different apparent fullness because of their construction. Use the photographs and zone notes to agree on the sample that will serve as the order reference.
Hairline Zone: What to Check First
Position the sample as it is intended to be worn. Agree on the desired hairline appearance before treating a lighter area as a problem.
- Transition. Compare the front edge and the hair immediately behind it with the selected reference. Note whether the change in coverage meets the brief.
- Base visibility. Record any visible base at the viewing distance and hair placement used for approval. Ask whether it is expected for that construction.
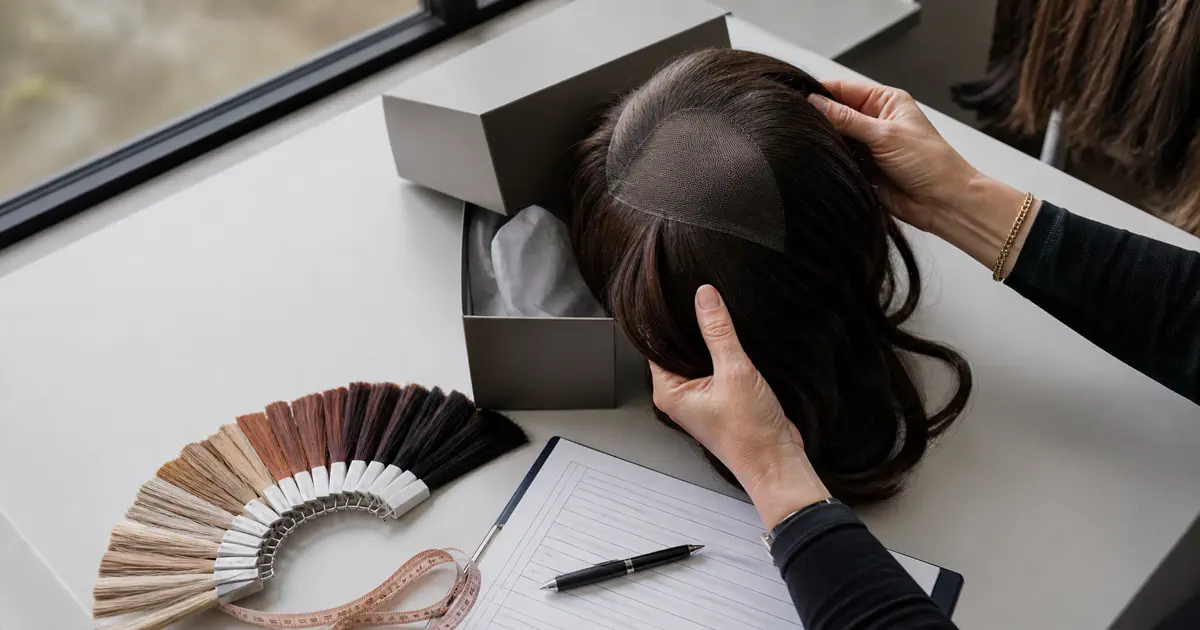
- Attachment detail. On a knotted lace front, assess visible knots against the selected hairline reference. Other front constructions need criteria suited to their design.
Take a front view and an angled close view without changing the lighting. The hairline sample inspection guide gives a fuller checklist for lace, knots and reference photographs.
Crown and Parting Zone
Check the intended part and the way the hair falls around the crown. Keep the cap positioned consistently while you compare samples.
- Parting. Record the width and appearance of the visible part against the approved reference. Note any area that needs another view.
- Crown coverage. Photograph the top with the hair placed as intended. Record visible tracks or exposed base and ask whether they match the agreed finish.
- Construction. Identify the lace top, silk top or other base. Use acceptance criteria appropriate to that construction.
If the cap position changes during the assessment, reposition it and repeat the photograph. Record head measurements and wearing preparation with the cap-fit measurements guide when fitting is part of the sample review.
Ends and Layers
Compare samples of the same finished length and a similar cut when assessing the ends. Differences in length, layering, styling and color can affect how fullness appears.
- Layer placement. Record where the layers begin and whether their transition matches the selected cut.
- End outline. Photograph the lower lengths against the same background. Mark any area whose taper or coverage needs clarification.
- Specification differences. Note changes in cut, length or styling before attributing a fuller or thinner appearance to density.
The Same-Condition Comparison Protocol
Give every sample an ID before taking photographs. Use the same light, background, camera distance and hair placement for corresponding views, and log any difference you cannot control.
| Field | What to record | Why it matters |
|---|---|---|
| Sample specification | ID, supplier, density label, length, cut, color, cap type and size | Identify differences that may affect appearance |
| Photo conditions | Named light, angle, distance, background, and wearer or stand | Repeat the setup for corresponding views |
| Zone notes | Hairline, crown and ends, each with a photograph and observation | Check coverage against the agreed brief |
| Finished dry weight, if required | Grams for the dry complete unit including cap and attachments; list accessories present | Compare weights measured in the same defined state |
| Decision | Accept, request another record or request a revised sample, with the reason | Identify the action and reference sample |
For a weight comparison, use the same scale and record samples in the same dry state with equivalent accessories. Record visible coverage separately, since a total weight does not show where the hair is distributed.
Approve, Re-shoot, or Re-sample
Use the agreed brief to decide what needs to happen next. An unclear photograph may call for another record before a product change can be assessed.
| Outcome | Trigger | Next step |
|---|---|---|
| Approve | The recorded zones meet the agreed brief | Retain the sample ID, specification, photographs and approval date |
| Re-shoot / re-record | A view or specification is missing or unclear | Obtain the missing information, then reassess |
| Request adjustment or a new sample | A recorded zone differs from the required finish | Ask what revision is available and identify the reference it should meet |
If the same zone fails again, show the supplier the two records, ask what changed between samples, and agree on what the next sample must show before you approve it.
Low Density Samples: Common Questions
Record the supplier’s density label and definition, the cap type, the finished length, and the coverage you want at the hairline, crown and ends. Attach photos of the physical sample you want the order to match.
Finished weight includes the cap and attachments as well as the hair. Record the complete dry unit in grams, state which accessories are present, and use the same method for comparison. Inspect the hairline, crown and ends separately to assess coverage.
Keep a photograph and a brief observation for the hairline, crown and ends. Record the sample specification, viewing conditions, accepted sample ID and approval date. Resolve unclear views or missing information before making the final decision.
Use comparable finished lengths, cuts, colors and cap constructions where possible. Photograph corresponding views under the same light, on the same wearer or stand. Note specification differences and compare each zone with the agreed finish before choosing a sample.
Keep the Accepted Sample and Record Together
Record the final sample ID and the version of the brief it meets. Retain the corresponding photographs and any agreed exceptions. These give you and the supplier a specific reference when discussing production or a reorder.

Discuss a Low Density Sample Brief
Send the intended length, cut, cap construction and zone reference photographs with your inquiry. Identify the coverage details you want checked during sampling.
Contact LEV Wigs